How to Start
Welcome! This guide gets you from zero to first leads in minutes. It’s written for agencies, founders and sales teams that sell services to token‑based crypto projects.
Outcome in 10–15 minutes: create your account, pick a plan, set your Filters & Exceptions, and start receiving verified projects on the Leads page or through the API.
Create your account
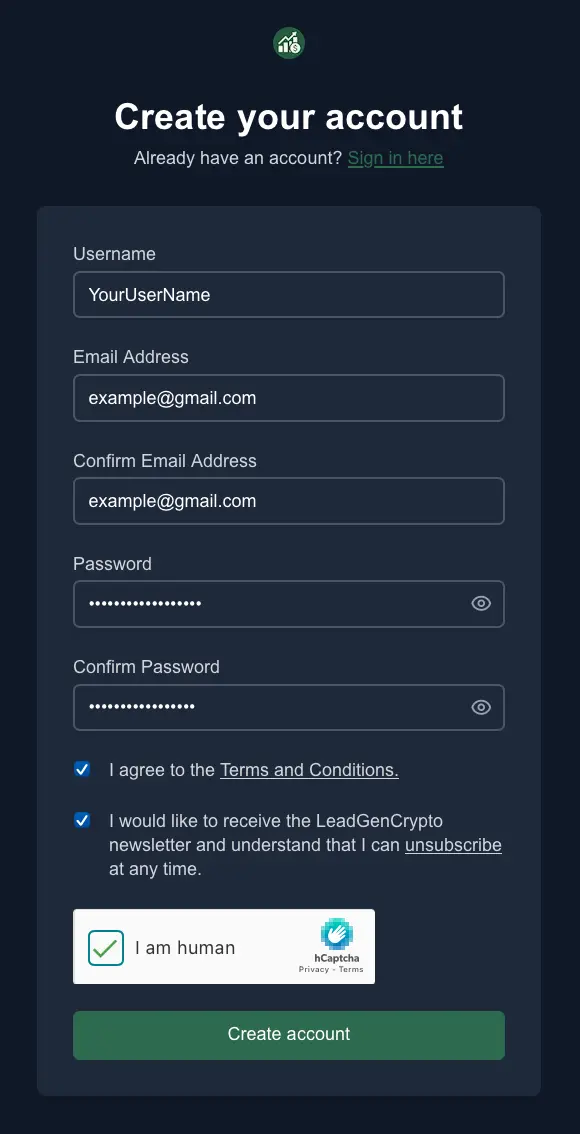
- Go to the sign‑up page.
- Enter your Username (used as your login), Email, and Password. Complete any required checkboxes and the CAPTCHA, then click Create account.
- On the next screen, select what type of service you provide to crypto projects and how you heard about LeadGenCrypto, then click Finish.
- Open your inbox (check Spam/Promotions if needed) and click Verify your email in the message from LeadGenCrypto. Once verified, your registration is complete.
Tip: If the verification email hasn’t arrived after a few minutes, request a new link from the sign‑in page and add our domain to your allowlist.
Sign in
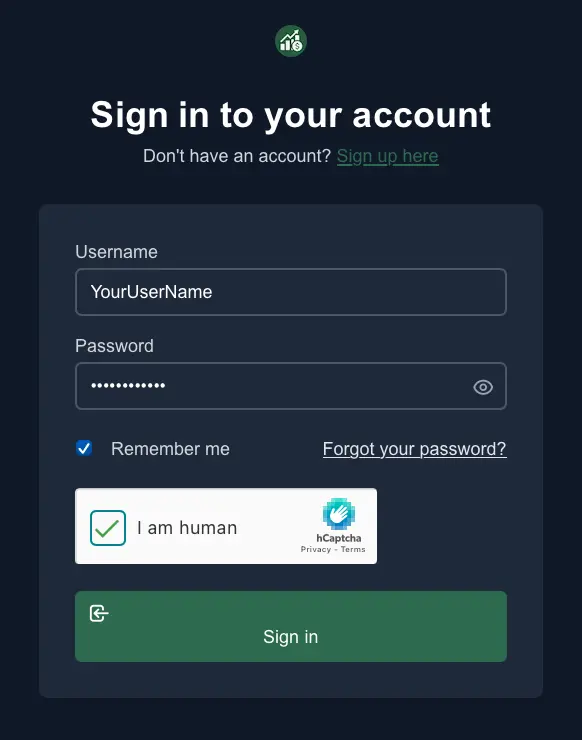
- Visit the sign-in page.
- Enter your Username and Password, complete any required checkbox/CAPTCHA, and click Sign in.
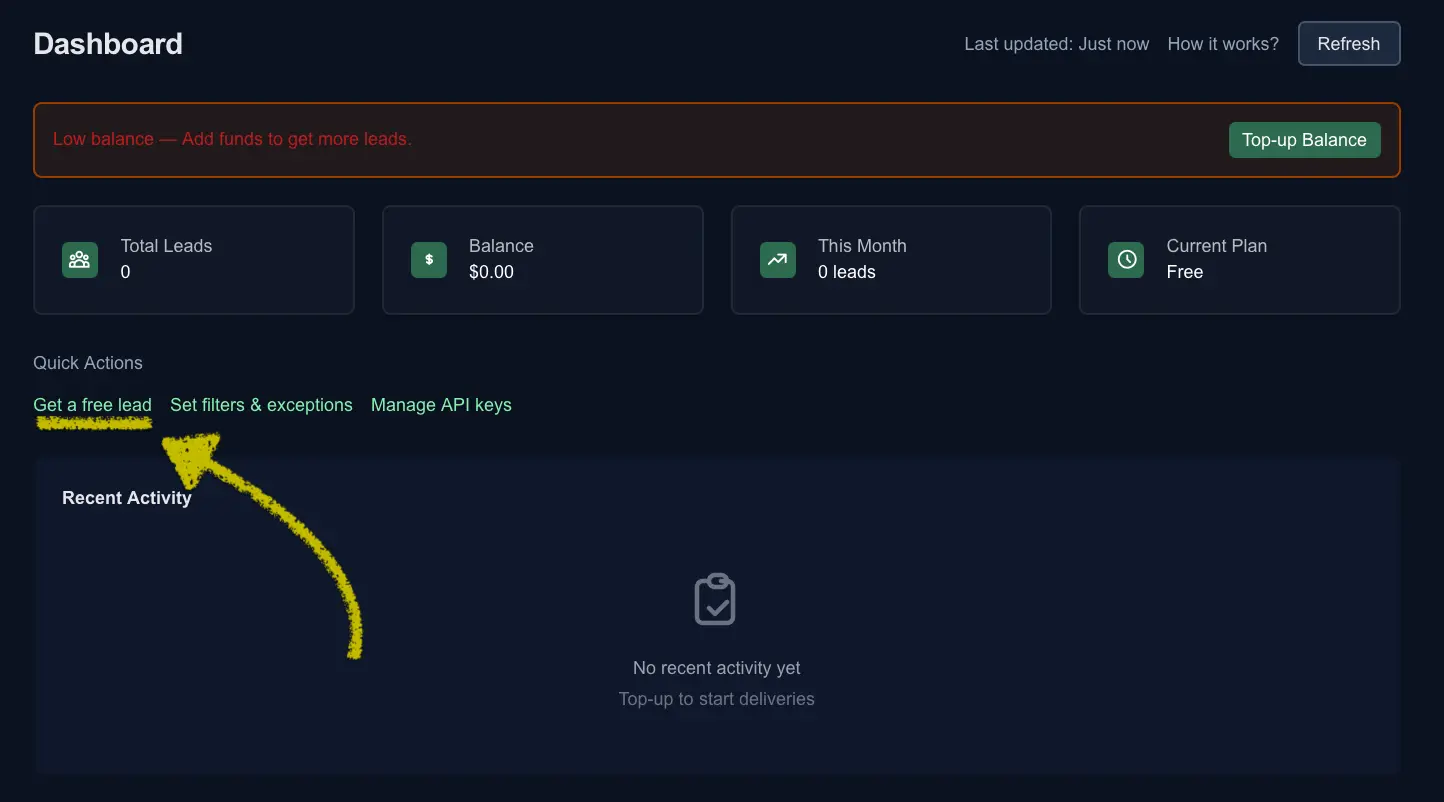
- You’ll land on Overview (Dashboard), where you can claim a free lead, set filters, or generate an API key.
Get a free lead
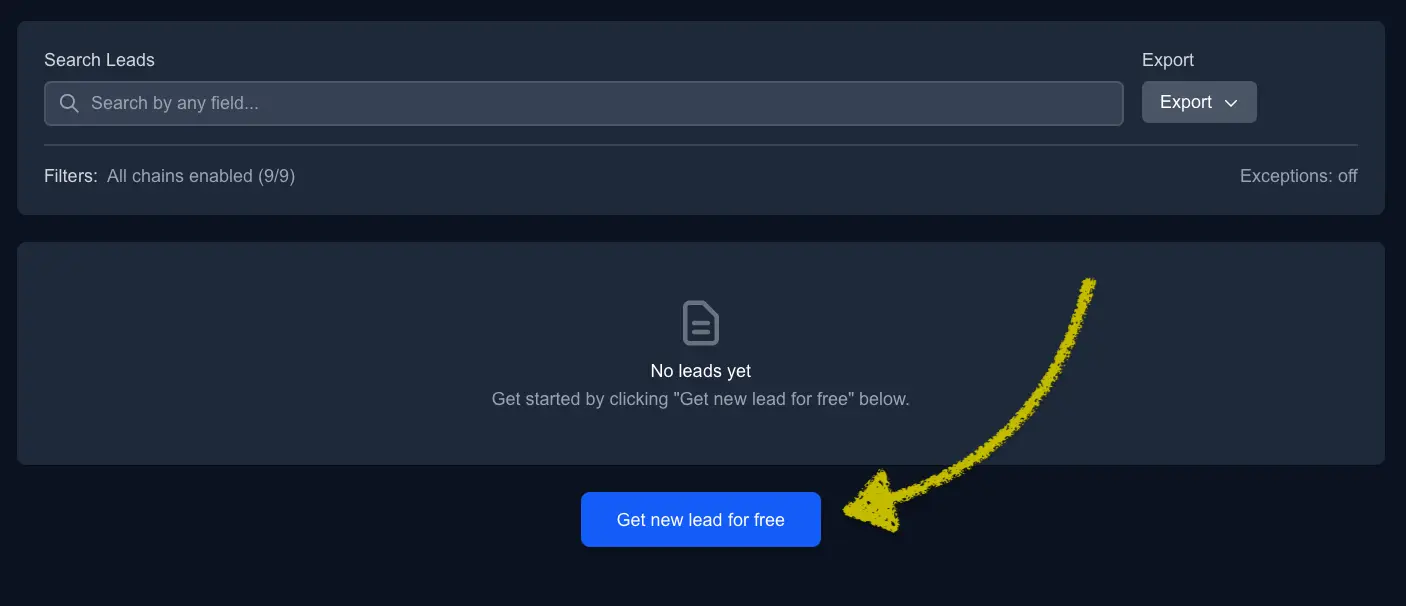
You can test data quality on the Free plan by claiming one manual lead every 24 hours.
- On the Leads page, press Get new lead for free. If you’ve already claimed one today, a countdown shows when the next free lead is available.
- Your lead appears instantly in the table (website, token address, chain, symbol/name, emails, telegram). Use Export → CSV if you’d like to download it or API.
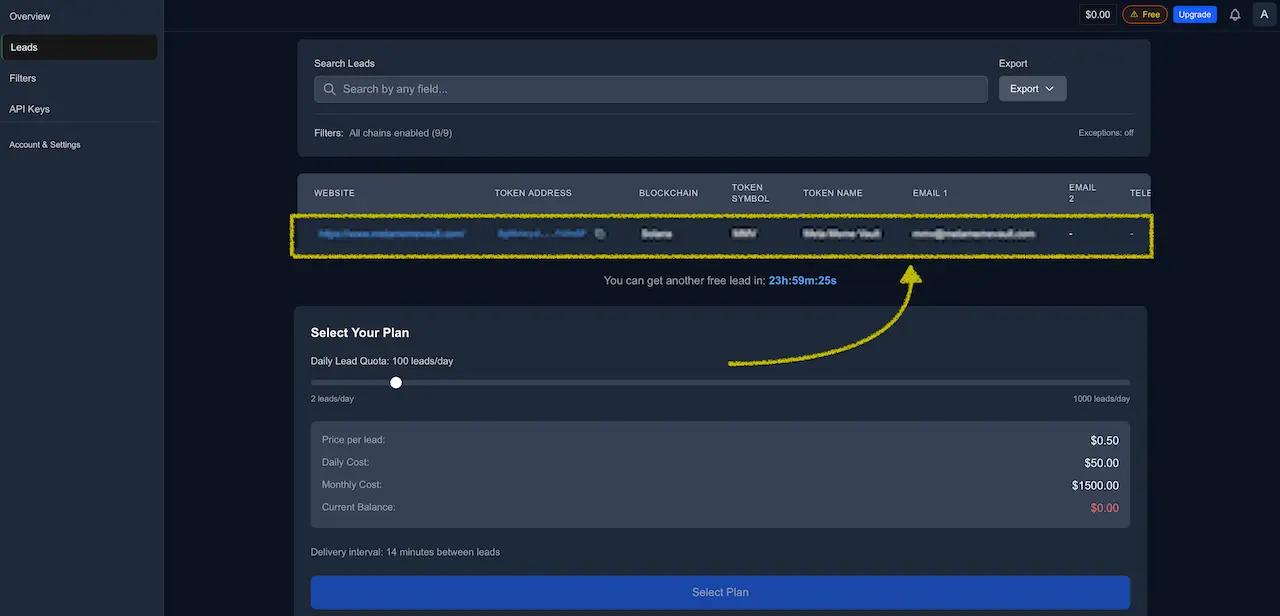
You can claim one free lead every 24 hours. To receive leads automatically (2–1,000 per day) and sync to your CRM via API, upgrade to a paid plan at any time.
1) Pick your plan
- Free - 1 lead per day via the web app and a minimal API allowance. Use it to validate data quality fast.
- Paid - automatic daily quota from 2 to 1,000 per day. Change the quota any time with the plan selector. Each paid lead costs $0.50.
See details and controls in Plans - Upgrade, Downgrade, Refunds & Pause.
2) Set Filters & Exceptions (protect budget)
- Networks - toggle the chains you want to target. See Filters & Exceptions.
- Exceptions - paste or CSV upload emails and token URLs you do not want to receive. Up to 1000 entries per list by default.
- Apply vs Save - on Paid plans the change applies to future deliveries immediately; on Free it is saved and auto-applies after you upgrade.
Add your existing prospects to Exceptions so you only pay for net-new leads.
For your account, LeadGenCrypto will not re-deliver a lead that repeats the primary contact email or the token URL already delivered to you.
Exceptions are for contacts you sourced elsewhere or want to suppress proactively.
3) Start receiving leads
Open Leads.
- Free - click Get new lead for free once per 24 hours.
- Paid - deliveries arrive automatically at the set cadence. A countdown shows when the next lead will arrive. Use Pause to freeze delivery and Resume later without losing your timer.
Each row includes website, token address, blockchain, symbol or name, verified emails. Export to CSV any time or pull the same data via the API.
4) Optional - Connect your CRM via API
- Create a key in API Keys.
- Use Public API endpoints
viewRecentLeads(last 24 h) andviewLatestLeads(withlimit). Respect your rate limits and minimum intervals.
5) Top up and invoices
- Follow the Top-Up (Deposit) Flow to add USDT or USDC on Ethereum or BSC.
- After confirmation your balance updates and a combined Invoice + Receipt (PDF) is available. See Payments & Subscription and Invoices & Receipts.
What success looks like
- A steady pipeline of verified token projects through web and API.
- Relevance tuned with Networks plus Exceptions.
- Clean billing with downloadable invoices and a transparent ledger.
Next steps
- Learn the Leads page.
- Configure Filters & Exceptions.
- Generate API Keys and review the Public API.
- Manage billing in Payments & Subscription and Invoices & Receipts.